How to Implement Laravel for Local Development
May 17, 2023
What is Vagrant?
Vagrant automates the virtual machine configuration and setup process. You only need to vagrant up once you have created a Vagrant. It doesn’t matter if you work on Windows, Mac OS X, or Linux. Your team will all be running the code in the same environment and with the same dependencies. You can say goodbye to bugs that “it does not work on my machine.”
The team behind Vagrant built a simple yet powerful tool to automatically install and configure all the software and features you desire for your server on top of Virtual Box’s hardware.
What is Laravel Homestead?
Homestead is an already-packaged Vagrant Box with all the essential tools installed by default. You don’t need to install PHP or any server software like MySQL, Redis, or a web server. Homestead allows you to save time and money by not having to learn Vagrant.
It’s simple, suitable for small and medium projects, boots quickly, and is enough to get anyone up to speed with Laravel within seconds.
Step-by-Step Process to Implement Laravel Homestead for Local Development
Let’s jump into our detailed guide for implementing Homestead Laravel to Local Development now that we know the details of Laravel Homestead.
Step 1: Download and install Vagrant
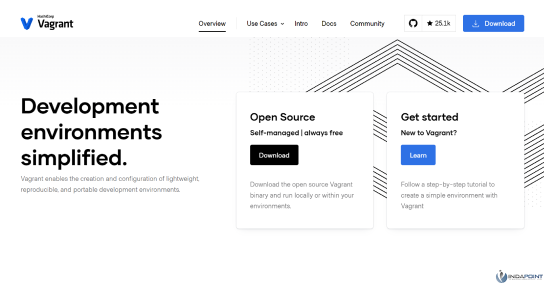
Installing Vagrant begins with establishing the Vagrant command-line utility, which manages the virtual machine’s lifecycle. Isolate the dependencies and their configuration in a consistent and disposable environment. Vagrant allows you to run multiple commands and access the MySQL database and code directory.
Step 2: Download and install Virtual Box
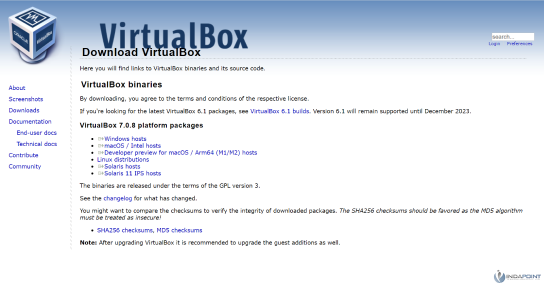
Installing Virtual Box is the next step. It’s a requirement for Vagrant to run on your system. Virtual Box is a cross-platform virtualization program that allows users of their computers to run different operating systems.
Step 3: Add the Homestead to Vagrant Box
We need to add Homestead into Vagrant Box to run Homestead in Virtual box. Run the following command in the terminal:
# vagrant box add laravel/homestead
The result looks like and it will work with multiple providers:
hyperv
parallels
Virtualbox
vmware_desktop
Option-3 is the best option for us since we are using Virtual Box. It will take a while to add. It can take some time.
# vagrant box list
You will get the output like:
laravel/homestead (virtualbox, 9.4.0)

Step 4: Installation of Homestead to Specific Location
Install Homestead. Now, we need to download the homestead into our system. Select a directory to store it in and change the path accordingly. So, select a folder called Laravel within my Documents folder. Run the following command.
# git clone https://github.com/laravel/homestead.git
~/Documents/laravel/Homestead
After cloning successfully with the Laravel file, go inside the folder:
# cd Documents/laravel/Homestead
Homestead will be initialized by running the below command. Run the following command for Mac/Linux.
# bash init.sh
For Windows
# init.bat
After completing successfully, you will get the result like: Homestead initialized
Step 5: Configure the Homestead
Navigate backward one step to the Documents/Laravel directory.
# cd ..
Then run the command below to create a code folder. This folder contains all of your projects/coding folders and files.
# mkdir code
After completing all the steps, you should now have the following folder structure:
- Document
- Laravel
- Code
- Homestead
Homestead. yaml is now open in your text editor. The Homestead.yml contains the host names and directory paths for your projects. Find the way to the folder and change it to point to the new folder you created.Folder:
map: ~/Documents/laravel/code
to: /home/vagrant/code
Step 6: Start the Homestead Machine to run the site
Start the Homestead Machine by running the following command. If you get any errors, restart the system.
# vagrant up
You must restart the server if you change the Homestead.yaml. Otherwise, your changes won’t be reflected, and you will have problems.
# vagrant halt
And re- runs the Homestead
# vagrant up
In the same way, the below command is also capable of reprovisioning your server. But I will suggest one below:
# vagrant provision or # vagrant up --provision
The vagrants run below the command
# vagrant suspend
Connect with SSHRun this command to connect via Ssh. You can log in to the machine by running the command below. You can now access your projects after logging in to the machine.
# vagrant ssh
The command line will look like the one below. You can access all your files and folders in the Ssh.
# vagrant@homestead:~$
You should be able to see the newly created code directory there if your configuration is correct.
# vagrant@homestead:~$ ls
For log out type this command
# exit
Step 7: Installation of Laravel installer
Install Laravel in Homestead to create multiple Laravel Projects. You must be logged into the vagrant box. Run the below command to navigate into the code directory.
# cd code
Run the following command to download the Laravel Installer using Composer:
# composer global require laravel/installer
Run the following command to create a new Laravel project
# laravel new myproject1

Step 8: Configure the newly created Laravel project
We will configure our newly created Laravel in the Homestead.yaml. Add the project name or URL to the file.
sites:
- map: myproject1.test
to: /home/vagrant/code/myproject1/public
- map: myproject2.test

// For another project2
to: /home/vagrant/code/myproject2/public
Databases:
myproject1
myproject2
The second thing you need to do is to go to myproject1/.env and change the default username, password, and database name that Homestead uses to connect to the database.
DB_DATABASE=myproject1
DB_USERNAME=homestead
DB_PASSWORD=secret
You can save the file now it is configured.
Step 9: Map the host’s file
Map the host’s file. The domain/URL we have set, which is’myproject. test. We must add this to the system hosts files to open it in our browser. Type the following command in a new terminal window.For Mac OS X and Ubuntu
# sudo nano /etc/hosts
For window
# C:\Windows\System32\drivers\etc\hosts
The host’s file will open in edit mode. The code should look similar to the one below. Add a line at the end of the document with our local address and the domain/url we’ve set for the project site.
##
# Host Database
#
# localhost is used to configure the loopback interface
# when the system is booting. Do not change this entry.
##
127.0.0.1 localhost
255.255.255.255 broadcasthost
::1 localhost
127.0.0.1 myproject1.test //(This line is the one that we added.)
Step: 10 Run Your Laravel Project
Please enter the website’s address/URL in your browser, prefixed with 8000. Port 8000 is highlighted in our project, so the URL should look as follows: http://myproject1.test:8000/. You should be able to see a new Laravel site.
Conclusion
This is a step-by-step tutorial on Laravel for Local Development. It also covers the various aspects that revolve around it. This guide can save developers time and effort by providing a ready-to-use, preconfigured environment. This will improve code quality by ensuring developers use the same configurations and development workflow.
If you’re a business owner unsure if Laravel Homestead will be the best choice for your next project and how this can benefit your company, then hire a Laravel Development Company to guide you through every stage of your web app development project.